External Hard Drive Not Showing Up? Fix It Step by Step
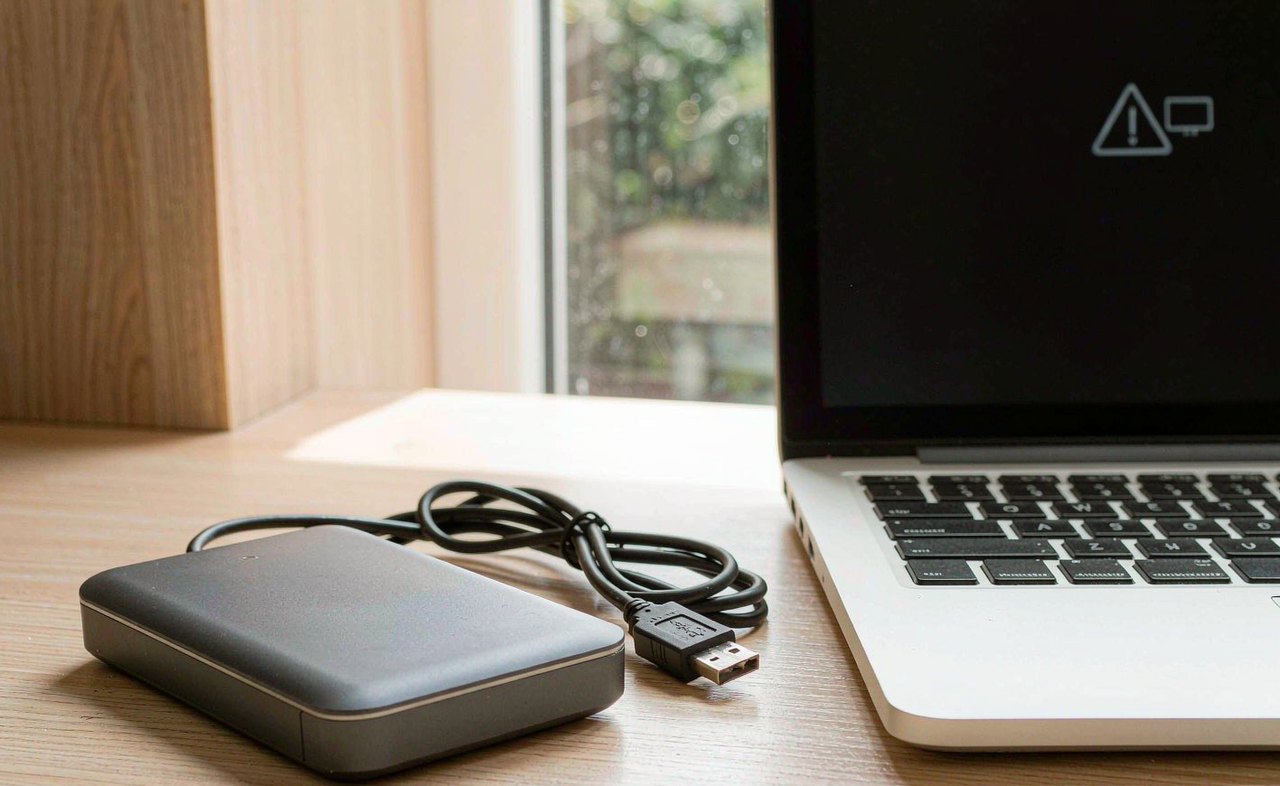
You plug in an external hard drive, wait for it to appear, and nothing happens. No pop-up, no new drive letter, maybe not even the usual spin-up sound. Before you assume the drive is dead, work through the checks below in order. In most cases the drive is fine and Windows is simply confused about power, letters, drivers, or the file system. Each step takes a couple of minutes and is safe for your data unless it is explicitly marked otherwise.
First, rule out the cable, port, and power
A surprising number of "dead" external drives are actually power problems. Desktop 3.5-inch external drives and some 2.5-inch models need more current than a single USB port can deliver, especially on laptops and unpowered hubs.
- Swap the USB cable for another one if you have it. Cheap cables fail internally while still looking perfectly fine.
- Plug the drive directly into a USB port on the computer itself, not a keyboard, monitor, or hub.
- If the drive has its own power adapter, confirm the adapter light is on and try a different wall socket.
- Try each USB port on the machine, including ports on the other side of a laptop. A single damaged port is common.
- Listen and touch. A healthy drive spins up with a short whir and a faint vibration. Clicking or beeping sounds point to a serious hardware failure, and at that point you should stop plugging it in repeatedly and consider professional recovery.
If another computer shows the drive normally, you have confirmed the files are intact and the problem lives in Windows on your machine. If no computer sees it at all, skip ahead to the hardware-failure section.
Check Disk Management before anything else
Windows can detect a drive perfectly well and still not show it in File Explorer. That happens whenever the drive has no drive letter, is unformatted, or is marked offline. Disk Management tells you which of these it is.
Right-click the Start button and choose Disk Management, or press Windows key + R, type diskmgmt.msc and press Enter. Wait up to a minute for the disk list to populate, then look at the lower pane, which graphs every connected drive.
Find the disk that matches your external drive's capacity. What the label says next to it decides your next move:
- Healthy (Primary Partition) but no letter: the drive is fine. Right-click the partition, choose Change Drive Letter and Paths, click Add, and pick a letter that is not in use. It appears in Explorer immediately.
- Offline or "Not Initialized": right-click the disk number on the left and choose Online first. Initialization is only needed for a brand-new drive — on a drive that previously held data, do not initialize before backing up or running recovery, because initializing writes a new partition table.
- Unallocated space on a drive that used to have data: the partition table is damaged. Do not format or create a new volume here. Jump to the recovery step below.
- RAW file system shown on the partition: Windows can see the partition but not read its file system. Recovery software usually handles this well.
The same logic applies to USB sticks and memory cards, and we cover those separately in fixes for an unrecognized USB flash drive and what to do when an SD card does not show up.
Assign or change the drive letter
Drive-letter collisions are one of the quietest causes of this problem. If a network share or another device grabbed the letter the external drive normally uses, Windows will mount it silently where nothing can see it. In Disk Management, right-click the drive's main partition and choose Change Drive Letter and Paths. Remove the current letter, click Add, and assign something like E: or X: that nothing else uses. This does not touch the data at all — letters are just shortcuts Windows writes into its own registry.
Update or reinstall the USB and disk drivers
A half-failed driver can leave a drive detected but unusable. Reinstalling it forces Windows to re-detect the hardware cleanly.
- Right-click Start and open Device Manager.
- Expand Disk drives and look for your external drive by name. Also check Universal Serial Bus controllers for any entry with a yellow warning triangle.
- Right-click the external drive entry and choose Uninstall device. If you see a "delete the driver software" checkbox, leave it unchecked.
- Unplug the drive, restart the computer, then plug the drive back in. Windows reinstalls a fresh driver automatically.
If the entry shows a specific error code, the number matters. Code 10 and code 43 usually clear up with the reinstall above; code 28 means the driver is missing entirely and Windows Update should find it under Settings > Windows Update > Advanced options > Optional updates.
Fix file system errors with CHKDSK
If the drive now appears but folders look empty, open slowly, or throw errors, the file system may have minor corruption. Windows includes a repair tool for exactly this.
Open a terminal as administrator (right-click Start, choose Terminal (Admin)) and run, replacing E: with your drive's letter:
chkdsk E: /f /r
The /f switch fixes file system errors and the /r switch locates bad sectors and recovers readable data. On a large drive this can run for hours, and it should not be interrupted. If CHKDSK reports "raw" or says it cannot open the volume, stop — that is a sign to move to recovery software rather than more repair attempts.
Formatting: the last resort that erases everything
Only format when the drive is new, or when you have already copied everything off it. Formatting for convenience is fine: in Disk Management, right-click the unformatted partition, choose New Simple Volume or Format, and pick NTFS if the drive stays with Windows PCs, or exFAT if you also swap it with Macs, cameras, or consoles. The default allocation size is fine for general use. If File Explorer offers a "quick format", use it — it finishes in seconds and behaves no worse for healthy drives.
When the drive itself has failed
Some signs should make you stop troubleshooting and think about recovery instead: repeated clicking or beeping, the drive appearing and disappearing every few seconds, or Disk Management showing 0 bytes in size. Mechanical drives in that state can go from struggling to unreadable with a few more power cycles.
If the files matter, copy what you can off immediately using the fastest method available — robocopy or a file manager that skips errors — and then retire the drive. If Windows cannot read anything at all, recovery software such as the free tier of popular tools can often rebuild the file table from a drive that Disk Management calls RAW or unallocated. Our guide to recovering deleted or lost files on Windows walks through the free options. For physically clicking drives, professional recovery services are the only realistic path, and prices reflect that, so weigh the value of the data first.
Keep it from happening again
Two habits prevent most of this misery. First, always use Safely Remove Hardware (the tray icon) or close files before unplugging — yanking a drive mid-write is the number-one cause of the RAW and unallocated states above. Second, treat every external drive as a single copy of your data, which by definition is not a backup. Follow the setup in our external drive backup guide so that a second copy lives somewhere else, and keep the utilities on our free tools page handy for the next time a drive misbehaves. The blog index has the rest of the hardware and storage series if you want to go deeper.