SD Card Not Showing Up? How to Fix It (2026)
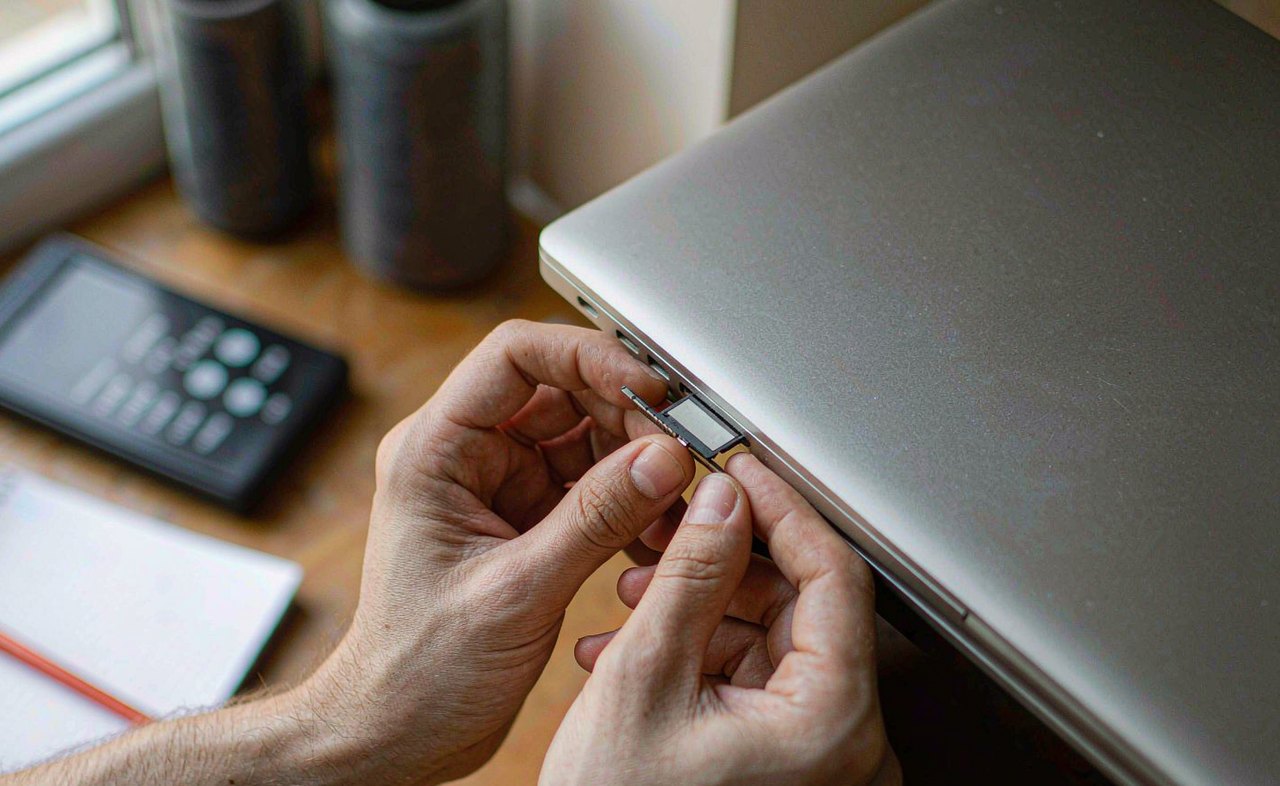
You slot your SD card into the computer, wait for the pop-up, and... nothing. No drive letter, no autoplay, not even a error message. It is one of the most common storage problems there is, and the fix is usually simple. Work through the steps below in order — they move from the most likely (and safest) causes to the more involved ones, and none of them will put your photos at risk.
Step 1: Check the Physical Basics First
Before blaming the card or your computer, rule out the simple stuff.
- Look at the lock switch. Full-size SD cards have a tiny slider on the left edge. It does not prevent the card from being read, but if it is loose or half-broken it can cause flaky connections. Slide it fully toward the contacts (unlocked position).
- Reseat the card. Pull it out, wait a second, and push it back in until it clicks or sits flush. Contacts collect invisible grime; a gentle wipe with a dry cloth helps more than you would expect.
- Try a different slot or reader. Built-in card readers fail far more often than the cards themselves. If you have a USB card reader, try that. If the card works in another device, your reader is the problem — not the card.
- Test the card in another device. If your camera or phone also refuses to see it, the card itself is likely faulty or corrupted — jump ahead to the recovery section.
Step 2: Check Disk Management on Windows
Sometimes Windows sees the card but does not show it, usually because it has no drive letter or was formatted with a file system Windows does not display by default.
- Press Windows key + X and choose Disk Management.
- Look at the list of disks at the bottom. Find a small removable disk the size of your card — a 32 GB card shows roughly 29 GB, which is normal.
- If it appears without a drive letter: right-click the partition and choose Change Drive Letter and Paths → Add → assign any free letter like E: or F:. It should appear in File Explorer immediately.
- If it shows as RAW or Unallocated: Windows cannot read the file system. Do not format it yet if the data matters — go to the recovery section below.
Step 3: Assign a Drive Letter on Mac
On macOS, open Disk Utility (Command + Space, type Disk Utility). If the card is listed in the sidebar but greyed out, select it and click Mount. Macs also struggle with some exotic formats; a card formatted as NTFS will mount read-only or not at all on older macOS versions. If the card came from an Android phone, it may be formatted in a way desktops simply cannot mount — check it on the phone instead.
Step 4: Update or Reinstall the Card Reader Driver
If Disk Management does not show the card at all (and you have tried another reader), the driver stack is the next suspect.
- Press Windows key + X → Device Manager.
- Expand Disk drives and Memory technology devices.
- With the card inserted, look for any entry with a yellow warning triangle. Right-click it → Uninstall device, then restart the computer. Windows rebuilds the driver on boot.
- While you are there, run Windows Update — reader drivers often ship through it, especially on laptops with Realtek readers.
Step 5: Repair File System Errors
If the card shows up but folders look empty or files have garbled names, the file system has minor corruption. Windows can often fix it without data loss.
- Open File Explorer, right-click the card's drive → Properties → Tools → Check.
- Let the scan repair errors it finds, then reopen the card.
If the card will not open at all, you can run the command-line version: open Terminal or Command Prompt and type chkdsk E: /f (replace E: with your card's letter). Repairs are quick on small cards.
If Windows offers to format the card every time you insert it, decline until you have tried recovery. Formatting is a last resort, not a first response — even a "quick" format can make photo recovery harder.
Step 6: Recover Files Before Doing Anything Drastic
If the card is detected but unreadable, or shows as RAW, use a reputable recovery tool before considering a format. Tools like Recuva or PhotoRec (free) scan the raw card and pull out photos and videos even when the file table is damaged.
- Run the scan and save recovered files to your computer, never back onto the card itself.
- PhotoRec is command-line based but nearly foolproof: pick the card's drive, choose File Opt to select photo formats, and let it run. It recovers by content signature, so it works even on cards that Windows calls "empty".
- Only after your files are safely copied elsewhere should you format the card, preferably in the device you use it with (camera or phone), which lays down the correct file system automatically.
Step 7: When the Card Is Really Dead
Cards wear out. They are rated for a limited number of write cycles, and counterfeits sold at suspiciously low prices fail within months. Signs of genuine failure: the card is invisible in every device and reader, gets hot while inserted, or reports wildly wrong capacity (like 8 GB showing as 2 TB — a classic fake).
If a recovery scan finds nothing at all and the card misbehaves in multiple devices, retire it. Copying anything important to a card that has already glitched once is asking to lose it twice. Storage is cheap; your photos are not.
Preventing It Next Time
- Eject properly every time — pulling a card mid-write is the number one cause of corruption.
- Never let a battery die mid-transfer; interrupted writes corrupt file tables.
- Format cards in the device they live in, not on random computers.
- Buy from reputable sellers and verify capacity with a tool like H2testw when in doubt.
- Keep a second copy of anything irreplaceable — cards are for transport and expansion, not archival.
In most cases the card is fine and the culprit is a dead reader, a missing drive letter, or a loose lock slider. Ten minutes of systematic checking beats an afternoon of panic — and now you know exactly where to look.