How to Back Up Your Computer to an External Drive
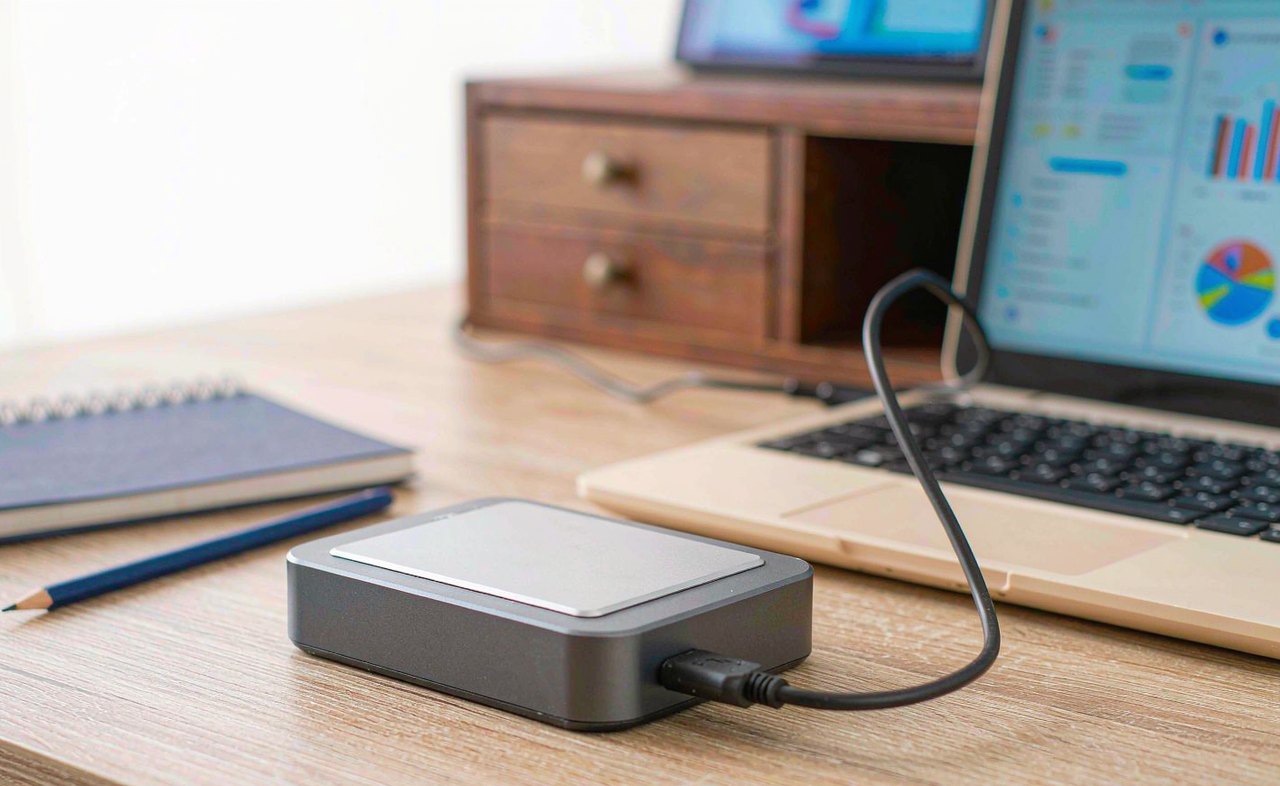
Every backup story ends the same way: either the photo library survived the dead laptop, or it did not. What surprises most people is how little stands between those two outcomes. One external drive and one built-in tool — already on your computer — cover the whole job. This guide walks through choosing a drive, setting up automatic backups on Windows and Mac, and, just as importantly, testing that you could actually get your files back.
Step 1: Pick a Drive (It Matters Less Than You Think)
Any drive from a known brand — Seagate, Western Digital, Samsung, SanDisk, Crucial — will do the job. The only real decisions are size and type:
- Size: get at least double the data you currently use. If your files total 300 GB, a 1 TB drive leaves room for years of growth. Check yours in Settings → System → Storage (Windows) or About This Mac → Storage (Mac).
- Type: a portable 2.5-inch HDD is cheapest per gigabyte and fine for backups. An SSD is faster, smaller, and has no moving parts — worth it if you will also carry files around. Either works; speed barely matters for overnight backups.
- Price sanity check: avoid no-name drives on marketplace sites. Counterfeit and re-labeled flash drives are a real thing, and a backup drive is the last place you want a fake.
Plug it in, wait for Windows or macOS to recognize it, and confirm you can see it in File Explorer or Finder. That is the whole installation.
Step 2: Set Up Automatic Backups on Windows (File History)
Windows has a built-in backup tool called File History that quietly copies your personal files — documents, photos, desktop, and anything in your user folders — every hour, keeping old versions so you can go back to last Tuesday's copy of a file you overwrote.
- Plug in the drive and open Settings → System → Storage → Advanced storage options → Backup options.
- Under Back up using File History, click Add a drive and select your external drive. The first backup starts immediately.
- Click More options to choose folders (add any custom folders you care about), set the backup frequency (hourly is a good default), and set how long versions are kept — "forever" is fine on a big drive, "until space is needed" on a small one.
One honest limitation: File History protects personal files, not your whole system. If Windows itself dies, you reinstall it (Windows 11 can reset itself cleanly without losing personal folders) and then restore your files from the drive. For most home users, that trade is worth it — simple tools get used, complicated ones get abandoned.
Some external drives include their own "one-click backup" software from the manufacturer. It works, but the built-in File History does the same job without asking you to install anything.
Step 3: Set Up Automatic Backups on Mac (Time Machine)
Macs have the better-known tool: Time Machine.
- Connect the drive. macOS usually pops up a dialog asking whether to use it for Time Machine — click Use as Backup Disk. If it does not appear, open System Settings → General → Time Machine and add the drive.
- The first backup runs for a while (leave it plugged in — overnight is ideal). After that, backups run automatically every hour while the drive is connected.
Time Machine keeps hourly backups for the past day, daily for a month, and weekly beyond that, deleting the oldest as space runs out. You never manage it; you just leave the drive plugged in when you can. And unlike File History, Time Machine can restore a whole system onto a new Mac, files and settings and all.
Step 4: Understand the 3-2-1 Idea (Without the Jargon)
Professionals summarize bulletproof backup habits as "3-2-1": three copies of your data, on two different kinds of storage, one of them somewhere else. Your version does not need to be elaborate:
- Copy 1: the files on your computer.
- Copy 2: the external drive backup.
- Copy 3 (the "somewhere else"): a free cloud sync for the irreplaceable subset — Google Drive, OneDrive, iCloud, Dropbox. You do not need to back everything up to the cloud; photos, documents, and anything you would cry about are enough.
Why bother with the third copy? Because the two likeliest disasters — laptop stolen with the backup bag, and house fire/flood — can take both local copies at once. The cloud copy is what survives the house. ransomware note: cloud sync folders with version history also give you a rollback point if files get encrypted by malware.
Step 5: Test the Restore — the Step Everyone Skips
A backup you have never restored from is a rumor. Once your first backups finish, prove they work:
- Windows (File History): open the folder a file lived in, click the History button in Explorer's Home ribbon (or right-click the file → Restore previous versions). Browse to an earlier version and restore it to a different name, so you do not disturb the live file.
- Mac (Time Machine): open the folder, launch Time Machine from the menu bar clock icon, scrub back through the timeline, and restore an old copy.
- Copying files by hand once a year. Manual "backups" drift out of date immediately. Use the automatic tools; they exist for exactly this reason.
- Leaving the drive permanently connected with nothing running. A drive in a drawer that gets plugged in weekly is worth more than one that sits connected but was never configured.
- Storing the backup drive in the same bag as the laptop. Theft and travel damage take both at once.
- Encrypted drives with lost passwords. If you turn on backup-drive encryption, the password goes in your password manager — an encrypted backup without its password is a paperweight.
- Drive chosen at 2× your data size, from a known brand
- File History (Windows) or Time Machine (Mac) configured and first backup complete
- Cloud sync enabled for irreplaceable files — your "offsite" copy
- One restore tested from each backup you rely on
- Drive stored separately from the computer, password saved if encrypted
Do this once with a junk file. It takes five minutes, and when a real disaster happens you will already know exactly where the restore button lives — which is the difference between a calm recovery and a panicked one.
The best backup system is not the most thorough one — it is the one that runs automatically and that you have actually tested. An untested backup is a hope, not a plan.
Common Mistakes to Avoid
Quick Checklist
Total effort: one drive, thirty minutes of setup, zero ongoing attention. Do it tonight — backups are the rare computer task where the reward for an hour of boredom is that the worst day of your digital life becomes a mild inconvenience.