Set Up Two-Factor Authentication in 15 Minutes
Passwords leak. Not occasionally and not hypothetically — large collections of stolen username-and-password pairs circulate for years after the breaches they came from, and attackers simply try them everywhere. Two-factor authentication (2FA) breaks that attack: even with your password in hand, an intruder cannot sign in without the second factor — usually a rotating code on your phone. Setting it up on your important accounts takes about fifteen minutes, and this guide walks through the whole thing: which accounts matter most, which method to pick, and the one backup step that saves you from being locked out later.
What 2FA Actually Is — and What It Is Not
Signing in with 2FA combines two of three kinds of proof: something you know (your password), something you have (your phone, an app, or a hardware key), and something you are (a fingerprint or face). A thief who steals only your password still fails the second check. Two honest limitations to understand up front: 2FA does not protect an account whose recovery email is itself unprotected — attackers simply walk in through the side door — and it does nothing about malware already running on the device you sign in from. That is why the setup order below starts with your email account, and why the malware cleanup basics still matter.
Step 1: Protect in This Order
Fifteen minutes does not cover every account you own, so spend it where it counts:
- Your email first. Your inbox is the master key to everything else: password resets for every other service arrive there. An attacker who controls your email can reset your way into your bank, your cloud storage, and your social accounts — often without ever needing your 2FA on those services. This is the account to protect before all others.
- Money and identity. Banking, payment apps, tax portals, and your government digital services logins.
- Cloud storage and password managers. A cloud drive holds your documents; a password manager holds every credential you own.
- Social and communication accounts. These get hijacked to run scams on your contacts, which is its own kind of damage.
Step 2: Pick Your Method — App Beats SMS
You will usually be offered three options. Authenticator apps (Google Authenticator, Microsoft Authenticator, Authy, or the password manager you may already use) generate six-digit codes that refresh every 30 seconds on your phone. They work offline, they cannot be intercepted over the air, and they are the recommended default. SMS codes — a text message with a number — are far better than nothing, but they can be hijacked through SIM-swap attacks, where a scammer tricks or bribes a mobile carrier into transferring your phone number to their SIM. If SMS is the only option a service offers, use it; otherwise prefer an app. Passkeys, the newest option, replace the password-plus-code dance entirely with a fingerprint, face, or device PIN, and are phishing-resistant by design — more on them in step 6.
Step 3: Walkthrough — Your Google Account
Google is the account most people sign into on every device, so it makes a good template — Microsoft, Apple, and most other services follow nearly identical steps:
- Go to myaccount.google.com in a browser and sign in.
- Open Security in the left menu and find How you sign in to Google.
- Click 2-Step Verification and confirm your password.
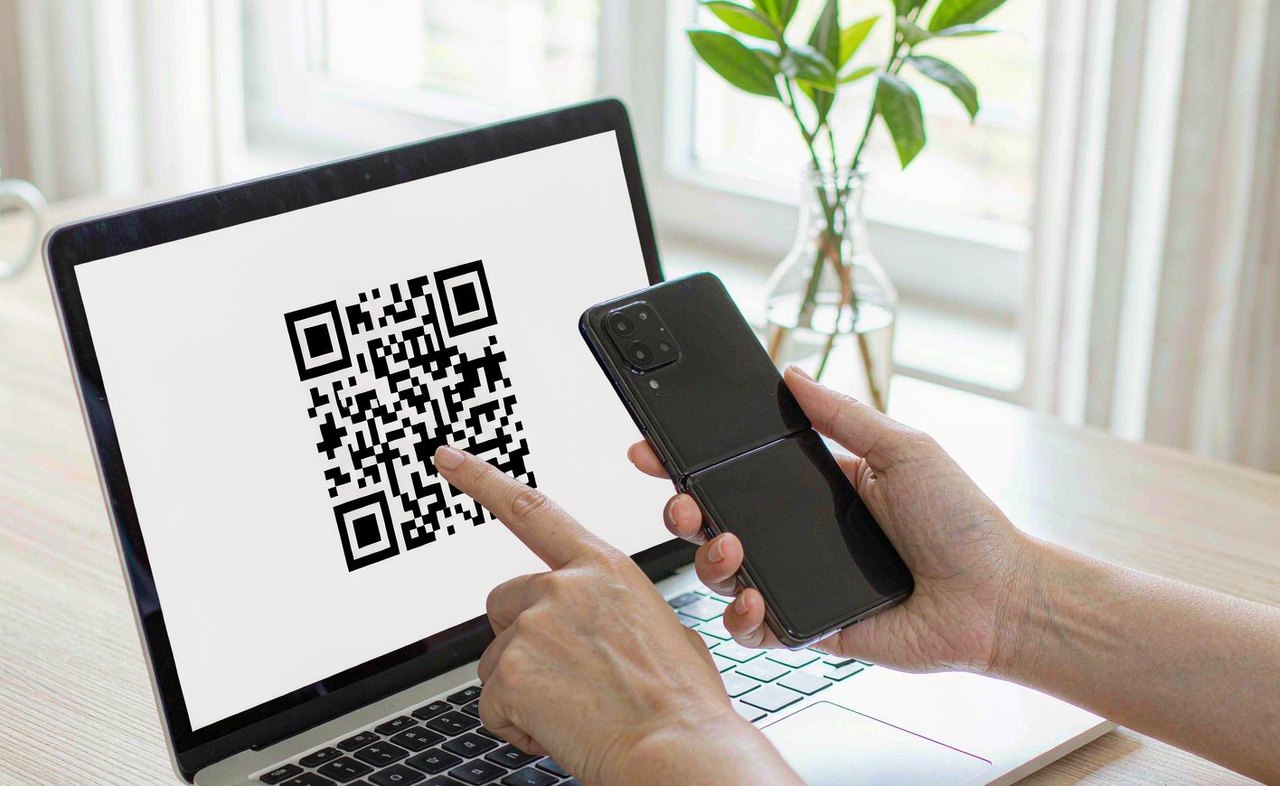
- Choose Authenticator app from the list of options. Google displays a QR code.
- On your phone, install an authenticator app from the official app store (Google Authenticator, Microsoft Authenticator, or Authy — any is fine), tap Add account → Scan QR code, and point the camera at the laptop screen.
- The app immediately starts showing a rotating six-digit code. Type the current code back into the browser to confirm the pairing, and the account is protected.
From now on, signing in on a new device asks for the current code from the app. Devices you already trust keep working without re-entering codes constantly, so the daily friction is small.
Step 4: Repeat for Microsoft, Apple, and the Rest
The pattern is always the same: account settings → Security → Two-step verification (Microsoft: account.microsoft.com; Apple: account.apple.com under Sign-In and Security). Because you already have the authenticator app installed, each additional account takes about two minutes — scan the QR, type one code back, done. Add your bank and any payment service the same way; banks label the feature variously as 2FA, verification codes, or "extra security," and some send codes by their own app rather than an authenticator, which is fine.
Step 5: The Step Everyone Skips — Backup Codes
Here is the scenario that turns a good decision into a lockout: your phone falls in a lake, or you buy a new one and the authenticator app does not transfer. Every service that offers 2FA also offers backup codes — a short list of one-time codes that each work exactly once, no phone required. Find them in the same 2FA settings page (Google keeps them under 2-Step Verification → Backup codes), and when you generate them:
- Print them or save them in your password manager — not as a photo in your phone gallery, which dies with the phone.
- Store them where you would look for important paperwork; a kitchen drawer with the passports is honestly fine.
- Add a second fallback where the service allows it: a recovery phone number or an additional signed-in device. The goal is at least two independent ways in.
Do this once per major account and losing a phone becomes an annoyance instead of a hostage situation. And if you are about to switch phones, open the authenticator app first — both Google Authenticator and Microsoft Authenticator can export or transfer accounts directly, which is far easier than re-pairing every service by hand.
Step 6: Passkeys Where They Are Offered
Increasingly, the services above offer to upgrade you to a passkey: instead of a password and a code, your laptop or phone unlocks the account with its own biometric or PIN, and the secret never leaves the device. Because a passkey is bound to the website's real address, a phishing site cannot trick it into signing in — the fake site simply does not match. Set them up on devices only you use: in Google's Security page under Passkeys, or Apple's equivalent in Settings → your name → Sign-In & Security. Keep the authenticator app as the fallback for signing in on a borrowed or shared machine. Passkeys and 2FA are not rivals — a passkey is simply the strongest form the second factor has taken so far.
Two Warnings Worth Reading Twice
- Nobody legitimate ever asks for your code. Bank staff, support agents, and platform "security teams" never need the six-digit number from your app. Any call or message asking for it — including ones that display on your own caller ID — is the attack in progress. Codes are for typing into the real website only.
- A password manager still matters. 2FA stops stolen passwords from working; a password manager stops every password from being the same one. The two together are the whole defense, not alternatives to each other.
Fifteen minutes, four or five accounts, one printed sheet of backup codes — that is the entire project, and it defeats the most common account-takeover attack there is.
Protect the email account first, add the rest in descending order of damage, and keep the backup codes somewhere physical. Once the major accounts are covered, add 2FA to the long tail of services opportunistically — every time you sign into something and see the Security page, spend the two minutes. For the other half of the routine, our guide to backing up your computer to an external drive covers keeping the data itself safe, and the blog index collects the full security and troubleshooting series; you will find more safe-browsing tools on our tools page as well.