Laptop Won't Turn On? Step-by-Step Fixes That Work
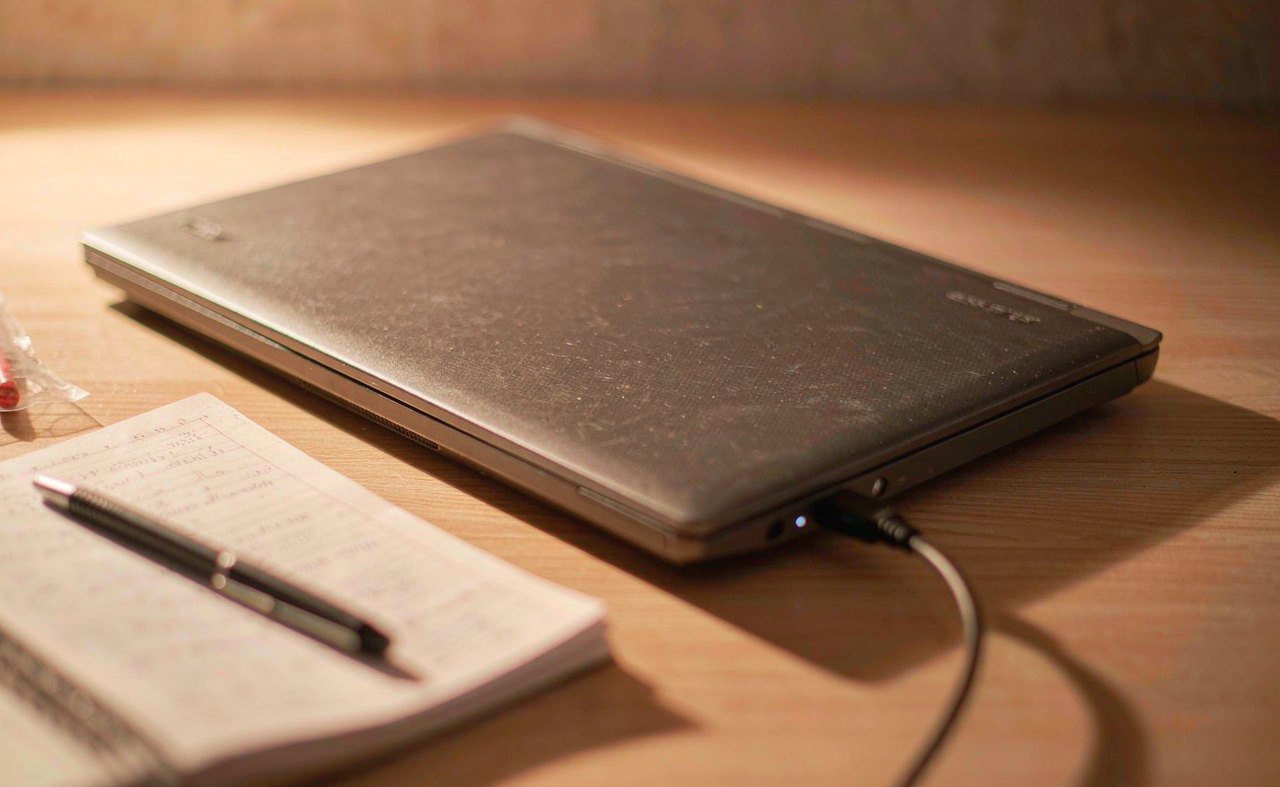
You press the power button and nothing happens. No fan spin, no logo, no lights — or maybe the charging LED glows but the screen stays black. A laptop that suddenly refuses to start feels like an expensive disaster, but in practice the majority of "dead" laptops come back to life with a ten-minute routine you can do at home with no tools. Work through the steps below in order; each one rules out a common cause, and you can stop as soon as the machine boots.
First, Work Out Which Kind of "Won't Turn On" You Have
The fix depends entirely on the symptom, so spend thirty seconds classifying it:
- Completely dead: no lights, no fan noise, no response from any button. This points to power delivery — charger, outlet, or the internal power circuitry.
- Powers on but the screen stays black: fans spin, LEDs glow, maybe you hear the Windows chime, but nothing appears. The computer is alive; the display path is the problem.
- Starts then dies or loops: the logo appears, then it shuts off or restarts endlessly. This usually means hardware initialization fails partway — often RAM, overheating, or a corrupted update.
The steps below cover all three, ordered from most to least likely.
Step 1: Rule Out the Wall, the Cable, and the Charger
Before blaming the laptop, prove that power is arriving.
- Plug the charger into a different wall outlet — and avoid power strips while testing. A tripped strip is embarrassingly common.
- Look at the charging LED on the laptop (usually on the edge or near the charging port). If it lights up while plugged in, power delivery works and you can skip to Step 3.
- Check the cable along its full length for sharp bends, pet teeth marks, or a connector that wobbles in the port. A frayed cable that only charges at one angle is a classic.
- If you have access to another charger with the same connector and wattage, try it. Charger bricks do die, and their failure often coincides suspiciously with a storm or a yanked cable.
On USB-C laptops, note that not every USB-C charger can actually run the machine: a phone charger may light an LED but cannot supply enough wattage to boot a 15-inch laptop. Use the charger that shipped with the machine or one with equal or higher wattage.
Step 2: Disconnect Everything External
A faulty dock, hub, or USB device can hold the power circuitry down hard enough that the machine never starts. Unplug everything: external monitors, docks, USB drives, SD cards, Ethernet, printers. Then try the power button again with only the charger attached. If the laptop suddenly springs to life, reconnect devices one at a time to find the offender — and replace that dock or hub rather than the laptop.
Step 3: Do a Hard Reset (Power Drain)
This is the single most effective fix for a dead laptop, and it costs nothing. Laptops keep a small amount of residual charge in their power circuitry, and a glitch in that circuit — often after an update, a sleep session gone wrong, or a power surge — can block startup completely. A hard reset drains it.
- Unplug the charger.
- Press and hold the power button for a full 30 seconds. Count it out; ten seconds is not enough.
- If your laptop has a removable battery, take it out first, then hold the button 30 seconds with the battery out.
- Reconnect only the charger (leave the removable battery out for now) and press the power button once.
Many modern laptops also hide a tiny pinhole reset button on the underside — check the bottom panel for a small hole labeled with a reset icon, press it with a paperclip, then try the power button. On some models, holding Power + Volume Up for 15 seconds performs the same drain. Whichever route your model offers, the hard reset alone revives a large share of dead-on-arrival laptops.
Step 4: Test Whether the Screen Is the Real Problem
If fans and lights come on but the display stays black, the laptop may actually be running fine — with a display failure. Connect an external monitor via HDMI or USB-C, press the key that switches display output (often Fn + F8, Fn + F4, or a key marked with two screens), and look at the external panel.
If Windows appears on the external monitor, your laptop's screen or its cable has failed — still a repair, but a far cheaper one than a motherboard, and your files are safe. If you suspect a stuck backlight rather than a dead panel, shine a flashlight at the screen at an angle: faint ghost images of the desktop mean the panel works but the backlight does not.
Step 5: Reseat the RAM (If Your Laptop Allows It)
A slightly unseated memory module — knocked loose by a drop, a squeeze in a backpack, or thermal expansion — produces exactly the dead-or-looping behavior described above. On laptops with an access panel, this is a five-minute fix:
- Unplug the charger and remove the main battery if it is removable.
- Remove the bottom panel screws (keep track of which screw came from which hole — laptop screws vary in length).
- Locate the RAM sticks, push the side clips outward, pull each stick out, then reinsert it firmly at an angle and press down until the clips click.
- Reassemble, reconnect power, and try again.
If your laptop has two sticks, try booting with one at a time — a single failed module is enough to block startup. Many thin modern laptops have soldered RAM with no access panel; skip this step rather than prying open a sealed machine you are not comfortable servicing.
Step 6: Read the Clues — LEDs, Beeps, and Fans
When a laptop fails its startup checks, it often tries to tell you why.
- Beep patterns: repeated beeps at boot are a coded hardware error. Note the pattern (for example, three short beeps repeating) and search your manufacturer's documentation with the model number — the code usually names the failing part, most often memory.
- Blinking power LED: some brands blink a count, pause, and blink again. That sequence is a diagnostic code; the support page for your model decodes it.
- Fan spins briefly then everything dies: classic overheating protection. If the vents are clogged with lint or the machine was run on a blanket, let it cool completely, clean the vents with short bursts of compressed air, and retry. A machine that boots after cooling usually needs a vent cleaning, not a repair — our guide to fixing an overheating laptop walks through that job step by step.
Step 7: Know When to Stop and Call a Repair Shop
If you have reached this point with a machine that still shows no lights at all — even with a known-good charger and a completed hard reset — the fault is likely inside: the charging circuit, the DC-in jack, or the motherboard itself. Those are bench repairs. Two practical notes before you hand it over:
- Ask for a diagnosis fee quote first and what it includes; many shops credit the fee against the repair if you proceed.
- Get the storage drive out if your files matter. On laptops with an accessible M.2 SSD, the drive slides out and can be read from an inexpensive USB enclosure on another computer — which means a dead laptop does not have to mean lost photos and documents. If the machine is old and the repair quote approaches the cost of a replacement, pulling the drive first is the financially sensible move; our guide to backing up a computer to an external drive explains how to restore that data afterward.
Prevention: Small Habits, Far Fewer Dead Mornings
- Do not leave the laptop plugged into a worn, wobbly charging port or a cable held together with tape — both eventually damage the charging circuitry.
- Once a month, hold the power button through a full 30-second drain when the machine is acting odd; it is the equivalent of a good night's sleep for the power controller.
- Keep vents clear and use the machine on hard surfaces. Overheating stresses exactly the components that fail when a laptop refuses to start.
Most "dead" laptops are not dead. A different outlet, a stripped-down power test, and one honest 30-second hard reset fix the majority of cases before any screwdriver comes out.
Work the steps in order and stop at the first success — then note what fixed it, because that clue is useful the next time. If your machine boots but runs oddly afterward, the blog index collects the rest of the troubleshooting series, including startup slowdowns and update failures, and our tools page gathers free utilities for the follow-up checks.